3D-Printed Home vs Traditional Build Cost Calculator

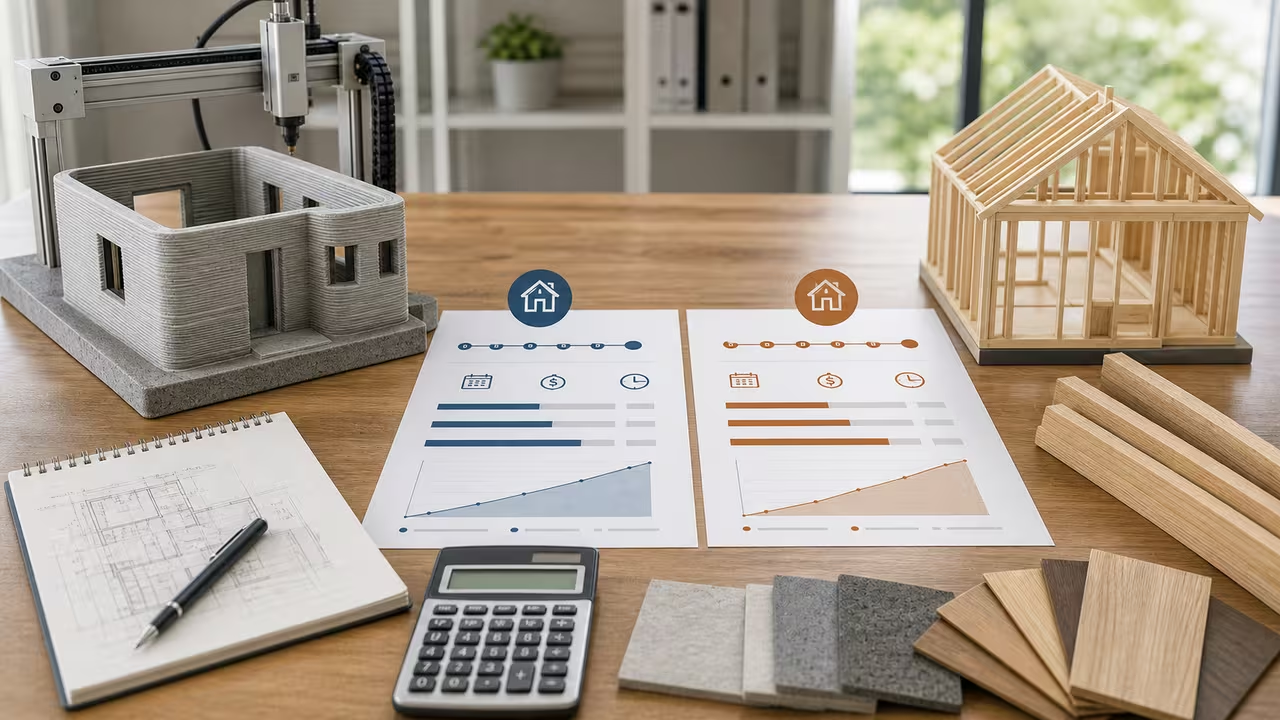
Compare 3D-printed and traditional home costs, speed, and long-term value
Comparing a 3D-printed concrete home with a conventional build involves more than asking how quickly a printer can place walls. The final choice depends on square-foot pricing, specialized crew labor, printer mobilization, construction financing, expected utility and maintenance savings, and whether local buyers assign any resale value to an innovative method. This calculator puts those assumptions beside a comparable traditional-build path so the tradeoffs remain visible.
This page compares a 3D-printed concrete home with a more traditional residential build by estimating three layers of value. First, it looks at upfront construction cost, including print mobilization, print crew labor, contingency on the traditional option, and financing cost during the build period. Second, it recognizes that time matters: a shorter schedule can reduce carrying cost and can matter even when the hard construction price looks close. Third, it adds the owner-side story by including annual energy and maintenance savings over an analysis horizon, along with a simple resale premium assumption if you think the finished home could command extra value in your market.
That combination makes the tool useful for more than casual curiosity. If you are sketching a concept for an accessory dwelling unit, testing a subdivision prototype, reviewing disaster-recovery housing ideas, or comparing a pilot project with local contractor bids, you need a structured first pass before building a giant spreadsheet. This calculator is not a replacement for a detailed estimate, but it is a fast way to pressure-test the economics and see which assumptions are doing the real work.
What the 3D-printed home comparison is measuring
This 3D-printed-home comparison uses one home size and two delivery methods. For the printed option, the calculation assumes you know or can estimate a cost per square foot for the printed home system, plus a separate mobilization cost for bringing the printer and setup crew to the site. It then adds explicit print crew labor and a financing carry estimate based on the number of construction days. For the traditional option, the model treats the cost per square foot as a bundled construction figure, adds a contingency percentage, and applies financing carry over the longer conventional schedule.
That difference in structure is important. Many conventional bids already hide labor, general conditions, and trade coordination inside the all-in cost per square foot, while early 3D-print estimates are often quoted as a shell-system rate plus project-specific labor and mobilization. The calculator follows that pattern. If your vendor gives you a printed price that already includes operator labor, you should reduce the print crew wage input accordingly so you do not count the same cost twice.
Choosing realistic 3D-printed and traditional build inputs
Reliable 3D-printed-home comparisons begin with disciplined inputs rather than optimistic math. Start with Home Size. Use conditioned floor area or the exact size basis used by both cost estimates. If one quote is gross square feet and the other excludes garages, porches, or mechanical rooms, normalize them before you compare anything. A mismatch in area basis can make one method look better for the wrong reason.
3D Printing Cost per Square Foot should represent the printed home system cost you want to test. In many early-stage scenarios that means the wall-shell package, specialized materials, and printing process cost before you explicitly add the print crew wage line below. Some builders may prefer to put more of the cost into this one field and use a lower crew wage; that is acceptable as long as you are internally consistent. The calculator does not know how your vendor structures a quote, so you have to make that interpretation clear on your side.
Traditional Build Cost per Square Foot is treated more like a conventional all-in construction baseline. It is the number that gets contingency added to it in the model. In practice, that means it should already reflect the general labor and subcontractor structure you expect for a comparable home. If you want to compare only the shell and exclude finishes or site work on both methods, do that for both methods consistently rather than mixing a shell-only print price with a turnkey traditional price.
The schedule inputs directly shape the 3D-printed-home financing comparison. 3D Printing Construction Days and Traditional Construction Days affect financing carry because a faster project keeps construction money outstanding for fewer days. The model uses a simple average-balance approach, so schedule differences have a smaller dollar effect than base construction cost differences, but they still matter. If your printed schedule only covers the wall phase while the traditional schedule covers the full project, adjust the numbers so they describe equivalent scope.
Printing Crew Size and Average Crew Wage are only applied to the printed pathway in this model. That is another reason input interpretation matters. The calculator assumes conventional labor is embedded inside the traditional cost per square foot, while print labor is shown separately because many users want to isolate what the specialized crew adds. If your case does not fit that structure, you can still use the tool, but you should change the inputs so the comparison remains apples to apples.
The remaining fields affect long-run or risk assumptions. Projected Annual Energy Savings vs Traditional and Annual Maintenance Savings are user-entered forecasts, not values derived automatically from the wall R-values. The 3D Printed Wall R-Value and Traditional Wall R-Value are shown in the result as a thermal comparison signal, not as a hidden energy model. Construction Financing Rate converts time into carrying cost. Contingency Percentage on Traditional Build recognizes that some projects carry more unknowns on the conventional path. 3D Printer Mobilization Cost captures the reality that one-off sites often absorb a fixed setup hit. Analysis Horizon controls how many years of annual savings are counted, and Resale Premium for Innovative Construction gives you a way to test whether future buyers might pay extra for durability, performance, or novelty.
A practical way to use this 3D-printed home calculator is to run three scenarios instead of one. Start with a cautious case using conservative printed savings and realistic schedule improvements. Then run a base case that reflects your best estimate. Finally, test an optimistic case. Seeing the spread is usually more informative than focusing on a single output line, because it tells you whether the decision is robust or whether it depends on one fragile assumption.
- Keep units aligned: use square feet for area, dollars for money, days for construction duration, years for the analysis horizon, and percent inputs exactly as labeled.
- Avoid double counting: if the printed rate already includes operator labor, lower the separate crew wage or use a smaller crew cost assumption.
- Compare like with like: both methods should cover equivalent scope before you interpret any savings as real.
- Stress test uncertainty: mobilization, contingency, and resale premium can move the result substantially, so vary them deliberately.
How 3D-printed home costs become calculator results
For the 3D-printed home, the total starts with home size times the printed cost per square foot, then adds printer mobilization, explicit print crew labor, and a financing estimate for the print schedule. The labor term assumes an eight-hour workday. The traditional total starts with home size times the traditional cost per square foot, increases that number by the contingency percentage, and then adds financing carry over the conventional schedule. From there the calculator measures the upfront difference between the two methods, computes annual operating savings over the selected analysis horizon, estimates an optional resale premium, and reports the combined modeled advantage.
Here are the relationships used for the 3D-printed versus traditional home estimate. Let S be home size, c the cost per square foot, M the printer mobilization cost, n crew size, w hourly wage, d construction days, and r the financing rate.
The script then forms a broader 3D-printed-home decision metric by layering on ownership effects:
In this expression, k is the traditional-build contingency, Senergy and Smaint are annual energy and maintenance savings, Y is the analysis horizon, Vtrad is the traditional construction subtotal after contingency, and p is the resale-premium percentage. The result is a transparent scenario comparison rather than a full project pro forma.
The financing term deserves one extra note because it is easy to misread. The page does not apply annual interest to the full construction cost for a whole year. Instead, it approximates financing using half of the relevant construction cost, multiplied by the APR, multiplied by build days divided by 365. That reflects the idea that money is drawn and spent over time rather than all at once on day one. It is still a simplification, but it is a practical one for quick scenario testing.
Worked example: default 3D-printed home and traditional build values
With the default 3D-printed-home inputs, the printed pathway begins with 1,800 square feet × $145 per square foot, or $261,000, then adds $15,000 of printer mobilization. That produces a printed construction base of $276,000. Print crew labor adds 6 workers × $32 per hour × 8 hours × 18 days, which is $27,648. Financing on the printed path is modest because the schedule is short: roughly $442 at 6.5% APR over 18 days using the average-balance assumption. The total printed estimate is therefore about $304,090.
For the traditional path, the calculator starts with 1,800 square feet × $185 per square foot, or $333,000. It then adds a 10% contingency, bringing the traditional construction subtotal to $366,300. Financing is higher because the schedule is much longer: about $3,913 at the same APR over 120 days. That makes the total traditional estimate approximately $370,213. In this example, the printed method comes out ahead by roughly $66,123 upfront and shortens the construction schedule by 102 days.
The long-run layer adds more context. The default annual energy savings of $550 plus annual maintenance savings of $300 produce $850 per year. Over a 20-year horizon, that becomes $17,000 of operating savings. The default resale premium of 4% applied to the traditional construction base adds another modeled $14,652. When those terms are combined with the upfront difference, the total modeled advantage of the printed option is about $97,775. The wall R-value comparison also shows the printed wall at roughly 31.6% higher than the traditional wall in this example, although the calculator does not automatically convert that gap into utility savings.
This 3D-printed-home example shows how the model responds when you change one variable at a time. If you increase home size while keeping the unit rates fixed, both methods get more expensive, but the larger traditional base can make contingency and financing effects widen the gap. If you shorten the printed schedule, financing savings improve. If you reduce annual savings to near zero, the printed option may still win upfront but with a smaller lifetime lead. Those directional checks are the fastest way to spot an input that does not belong.
Sensitivity view for 3D-printed home size
This 3D-printed-home size sensitivity view keeps the example rates and assumptions constant while changing only the home size. The numbers illustrate how fixed printer mobilization and per-square-foot costs interact; use the live form for your own assumptions.
| Scenario | Home Size | Printed construction base | Traditional construction base with contingency | Why it matters |
|---|---|---|---|---|
| Smaller home | 1,440 sq ft | $223,800 including mobilization | $293,040 | Fixed mobilization matters more on small projects, so printing needs strong speed or operating savings to stay compelling. |
| Default example | 1,800 sq ft | $276,000 including mobilization | $366,300 | This is the baseline used in the worked example and gives a clear schedule advantage to the printed path. |
| Larger home | 2,160 sq ft | $328,200 including mobilization | $439,560 | As the home grows, the fixed mobilization cost is diluted and the per-square-foot spread can become more important. |
For 3D-printed homes, larger projects often make fixed mobilization less painful, while very small one-off homes may need a sharper speed or performance edge to justify the printing setup cost. That is exactly why it is worth testing your own site size instead of relying on a headline claim about printed homes in general.
Reading the 3D-printed home result panel
The 3D-printed-home result panel first answers which method costs more upfront and whether the printed schedule is shorter or longer. The detail panel then separates that headline into supporting pieces such as financing carry savings, operating savings over the selected horizon, resale premium, and relative wall R-value. If a result surprises you, do not jump straight to the conclusion that the math is wrong. First ask whether the cost-per-square-foot inputs describe equivalent scope, whether the printed labor line duplicates something already inside the printed unit rate, and whether the day counts represent comparable construction windows.
A good 3D-printed construction check is to change only one input and make sure the output moves in the direction you expect. Increase mobilization and the printed option should become less attractive. Increase traditional contingency and the printed option should look better. Extend the analysis horizon and lifetime savings should rise in a straight line because the script simply multiplies annual savings by years. If the response does not make sense, that usually points to an interpretation issue rather than a calculator bug.
The CSV download is useful once you start comparing 3D-printed-home scenarios. It exports yearly cumulative savings against the same printed and traditional totals, which makes it easier to drop several runs into a spreadsheet, document the assumptions behind a board presentation, or share one scenario with a lender, consultant, or project partner. In short, the live calculator helps you test the construction assumptions, and the CSV helps you keep those scenarios organized.
3D-printed home cost assumptions and limits
This 3D-printed-home estimator intentionally stays simple enough for quick use. It does not price land, permitting, utility taps, neighborhood design review, geotechnical surprises, weather downtime, code-driven detailing changes, or differences in finish packages unless you fold those items into your cost-per-square-foot assumptions. It also does not estimate utility savings from R-value automatically; those savings are entered by you. The resale premium is a judgment call, not a market survey. For some locations it may be sensible to set it to zero.
The model also assumes that traditional labor is already captured inside the traditional cost per square foot, while print labor is explicit. That may not match every procurement structure. If you receive bids with different inclusions, the safest move is to normalize the estimates outside the tool and then bring the cleaned numbers back into the form. Think of this page as a transparent 3D-printed-versus-traditional home estimator: useful because you can see what it counts, but only as reliable as the assumptions you feed it.
Frequently asked questions about 3D-printed versus traditional home costs
Does a faster printed schedule always mean the printed home is cheaper?
No. A faster 3D-printed-home schedule lowers financing carry because construction days are shorter, but the base construction cost structure is usually the larger driver. A printed project with high mobilization, specialized labor, or expensive materials can still cost more upfront even if it finishes much sooner.
Why include wall R-values if the calculator does not derive energy savings from them?
The wall R-values give the 3D-printed-versus-traditional comparison useful thermal context. Their actual dollar value depends on climate, HVAC design, utility rates, infiltration, occupancy, and other factors this simple model does not simulate. That is why annual energy savings remain a user input.
When is this 3D-printed home calculator most useful?
It is most useful at the feasibility stage, when you are comparing printed and conventional home concepts and want a defensible first pass rather than a final construction budget. It helps identify whether the case for printing depends mainly on unit cost, schedule compression, lifecycle savings, or a resale assumption. Once you know that, you know where to ask tougher questions in a formal estimate.