3D Printed Part Porosity Strength Calculator

Introduction: Why porosity deserves a strength check
In a 3D printed part, the porosity level, infill, and build orientation work together to decide how much tensile strength survives after the part comes off the printer. The chart at the top turns that interaction into a simple visual comparison, so you can judge whether a print is close to its target or clearly short. The same comparison is also written out in the caption for screen-reader users and for anyone who prefers a text summary.
How to use the 3D printed part porosity strength calculator
- Enter the base tensile strength for the material or coupon data you trust, in MPa.
- Enter porosity as a percent of the part volume, using a measurement or estimate from inspection.
- Enter infill percentage and an orientation factor from 0 to 1, where lower values represent weaker load paths across the layer lines.
- Enter the required tensile strength for the application, then compare the predicted strength, failure risk, and safety margin.
- Try a second set of print settings to see whether drying filament, raising infill, changing orientation, or reducing porosity has the biggest effect.
Background: Why pores weaken printed parts
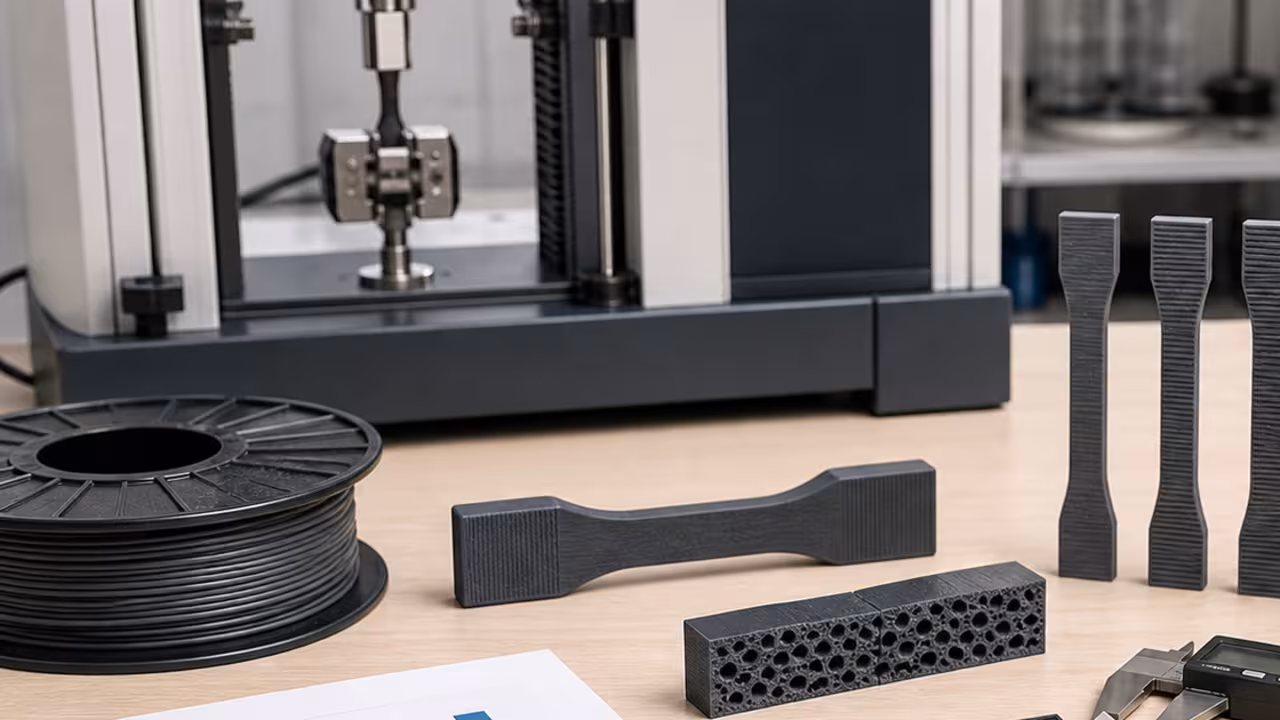
The 3D printed part porosity strength calculator is built around a simple materials idea: voids and weak layer bonds remove the area that can carry load. In additive manufacturing, those voids can come from trapped gas, wet filament, incomplete fusion, or process instability, and each one can turn into a stress concentrator once the part is loaded. Designers often assume the printed part will behave like the bulk material in the datasheet, but the real print may fail much earlier because the load path is interrupted by pores and orientation-sensitive bonds. By combining porosity, infill, and build direction in one estimate, the calculator gives a quick first-pass picture of how much tensile strength remains and how much risk is left at the chosen requirement.
Formula: Porosity, infill, and orientation model
The 3D printed part porosity strength calculator starts with the nominal tensile strength of the feedstock, denoted . Porosity reduces strength roughly in proportion to the loss of load‑bearing area, so a porosity fraction yields a basic reduction of . Infill further scales the cross‑section, while build orientation captures anisotropy due to layer adhesion. The resulting estimate of part strength is:
Formula: S_part = S × 1 - P × I / 100 × O
where is infill percentage and is the orientation factor between 0 and 1. In this calculator, infill percentage and orientation factor act as separate multipliers so the strength estimate tracks both fill density and anisotropy. The difference between this estimate and the required strength dictates failure risk. To express risk, we apply a logistic function:
Formula: Risk = 1 / (1 + e^-(R-S_part)/5)
Worked Example: A nylon print with 6% porosity
A nylon specimen with a base strength of 50 MPa, 6% porosity, 70% infill, an orientation factor of 0.8, and a required strength of 30 MPa produces a predicted strength of 26.32 MPa. On the chart, that case appears as a gray 50 MPa bar, a green 26.32 MPa bar, and a red 30 MPa requirement, making the shortfall obvious at a glance.
Scenario Comparison Table: Porosity, infill, and orientation in action
| Porosity | Infill | Orientation | Predicted Strength (MPa) |
|---|---|---|---|
| 2% | 100% | 1.0 | 49.0 |
| 6% | 70% | 0.8 | 26.3 |
| 10% | 50% | 0.7 | 15.8 |
How to Interpret the Porosity Strength Chart
The gray bar represents the base material strength, the green bar shows the estimated strength after porosity, infill, and orientation have been applied, and the red bar marks the required threshold. When the green bar sinks below the red one, the calculator's failure-risk value rises quickly because the part has little remaining margin. The caption below the chart repeats the same comparison in words so the numbers stay easy to read without the graph.
Typical Parameters for Common 3D Printed Materials
| Material | Base Strength (MPa) | Orientation Factor |
|---|---|---|
| PLA | 60 | 0.8–1.0 |
| ABS | 40 | 0.7–0.9 |
| Nylon | 50 | 0.6–0.8 |
Understanding the 3D Printed Part Strength Results
The calculator reports an expected tensile strength and a probability that the part misses the required value. A low risk score suggests a comfortable margin for a 3D printed part, while a score near the middle calls for test coupons or a revision to the print settings. When the score gets high, the part is close enough to the limit that a change in porosity, infill, orientation, or material choice is likely warranted. Because porosity can vary from location to location inside one print, the result should be treated as an average estimate rather than a guarantee. For critical parts, destructive testing of sample coupons is still the safest check.
Sources of Porosity in 3D Printed Parts
Porosity in a 3D printed part can come from moisture in the filament, a nozzle temperature that is too low for full fusion, unstable extrusion, or debris and trapped gas in the feedstock. In powder-bed processes, lack of fusion and keyhole defects create different pore shapes, but both reduce the material that can carry tensile load. The calculator cannot diagnose which defect is present; it simply shows how much strength a measured pore fraction may be stealing from the part. That makes it useful when you need a fast screening step before moving on to microscopy, CT scanning, or process tuning. Each mitigation strategy has tradeoffs, so the result is most helpful when it is paired with practical knowledge of the machine and material.
Anisotropy and Orientation in Layered Prints
A 3D printed part is usually stronger within a layer than across the bond between layers, and the orientation factor in this calculator captures that difference. A value closer to 1 means the load is aligned with stronger paths through the print, while a lower value means the part is being pulled across weaker interlayer bonds. For simple parts, the factor can be estimated from test data or a known build orientation; for complex load paths, finite element analysis may be more appropriate. Even so, the single factor is useful for quick comparisons because it highlights how much strength is lost when a print has to rely on layer adhesion instead of solid material.
Implications for Load-Bearing Part Design
When additive manufacturing is used for lightweight brackets, housings, or lattice-filled components, the temptation is to lower infill and save material. The porosity strength calculator helps you decide whether that tradeoff is still acceptable by showing the combined effect of porosity, infill, and orientation on tensile capacity. A drone frame, for example, may look rigid in hand but still come up short under crash loads if the pores are numerous or the load is taken across the layer lines. Raising infill, thickening shells, or rotating the print can all move the estimate upward, but the safest option is the one that leaves enough margin for real-world abuse.
Quality Control for Porosity-Sensitive Prints
Production teams often measure porosity with CT scanning, ultrasonic inspection, or coupon testing, while hobbyists may rely on visual checks and a few sacrificial samples. Feeding those measurements into this calculator turns raw inspection data into a more practical statement about part strength. Tracking the result from batch to batch can also reveal when a printer is drifting, a filament spool is absorbing moisture, or a process change has introduced more voids than expected. In that sense, the calculator works best as a quick quality-control companion, not as a replacement for proper inspection of mission-critical parts.
Material Development for Lower-Porosity Filaments
Researchers developing new feedstocks use porosity and strength models like this one to compare experimental materials with familiar baselines. Adding fillers, fibers, or processing aids may reduce voids, improve interlayer bonding, or change the orientation sensitivity of the print, and each effect can be tested by plugging measured values into the calculator. That makes the page useful beyond day-to-day design work: it also gives material scientists a fast way to see whether a new formulation is likely to improve tensile margin or merely shift the weak point somewhere else.
Limitations and Real-World Insights
The underlying equation assumes porosity uniformly reduces load‑bearing area and that pores do not preferentially form dangerous clusters. Real parts may exhibit complex pore geometries that trigger brittle fracture. Thermal residual stresses, environmental exposure, and aging can further degrade mechanical properties beyond what porosity alone predicts. Additionally, the logistic risk function uses an arbitrary scale factor; for safety‑critical parts, a more rigorous statistical model based on empirical failure data should be employed. Nevertheless, the simplicity of the approach provides quick insight and highlights the importance of process control in additive manufacturing.
Conclusion: Using porosity estimates before a print goes into service
Porosity is one of the clearest reasons a 3D printed part underperforms its datasheet strength, but it is also one of the easiest factors to screen with a simple calculator. By combining base material strength, measured porosity, infill, and orientation, this page turns a few print settings into a useful estimate of tensile margin and failure risk. Use it when choosing settings, comparing material batches, or deciding whether a part needs another round of tuning before it is trusted in service. For load-bearing work, the most useful result is the one that pushes you to verify the print before it fails in the field.
Saving Your Analysis as a Print Log
After you calculate strength and risk, use “Copy Result” to move the summary into your own printer notes or quality log. Keeping those copied results alongside infill, orientation, and porosity measurements makes it easier to compare batches, spot drift, and explain why one print passed while another did not.
Related Calculators
Refine models with the Annealing Shrinkage Calculator, plan material needs via the Filament Usage Estimator, or estimate environmental impact using the Carbon Footprint Calculator.
Arcade Mini-Game: 3D Printed Part Porosity Strength Calculator Calibration Run
Use this quick arcade run to practice separating useful scenario inputs from common planning mistakes before you rely on the calculator output.
Start the game, then use your pointer or arrow keys to catch useful inputs and avoid bad assumptions.
Status messages will appear here.